Using the CLI with a template
In this tutorial you'll step through copying a template project into your Quix account, and then working with it locally using the Quix CLI and docker. You'll also run the Redpanda broker locally using docker, and test out your Quix services coded in Python, using the Quix Streams library.
Prerequisites
The tutorial assumes you have:
- Docker Desktop (and a docker CLI) installed.
- Quix CLI installed.
- A free Quix Cloud account. Make sure you are signed up and logged in.
Step 1: Copy the template
To copy the project template into your Quix Cloud account:
-
Navigate to the templates page and locate the Hello Quix template.
-
Click the Hello Quix panel and then click the
Clone this projectbutton.You are taken to Quix Cloud.
-
In Quix Cloud, in the
Import projectdialog, use the single-click option to create your project. -
Navigate into the project environment.
Step 2: Get your Gitea credentials
To obtain your Gitea credentials:
-
Click on your profile picture in Quix Cloud, and select
Manage Git credentials. -
Make a note of your Gitea username.
-
Click
Generate new password, and copy the generated password to your clipboard, and paste it somewhere secure, you'll need this later when you clone the repo locally. -
Click
Settingsin the bottom left corner of the screen, and then clickGo to project settingsat the top of the panel. -
Copy the Gitea URL for your project using the button provided.
Step 3: Clone the project repo
You'll now clone the project repo so you can work on it locally.
Tip
You could of course work on your pipeline in Quix Cloud if you so choose.
-
Create a directory for your project (for example
mkdir hello-quix), and change into it. -
Clone the project, pasting in the Gitea URL you obtained in Step 2:
Use your organization name. You'll be prompted for your Gitea username and password.
You now have a local clone of your project.
Step 4: Run the project locally
There are various ways you can run your code locally. In this tutorial you run the entire pipeline locally using Docker.
-
To run the pipeline locally, in your terminal enter the following command:
Tip
You can alternatively use
docker compose up --build, as this template includes adocker-compose.ymlfile. -
Switch to Docker Desktop to see the pipeline running.
-
When you are satisfied the pipeline is running correctly, use the following command to shut down the pipeline:
Step 5: Modify your code
You can now modify your code in any way you wish. For example, you could edit a main.py file to include additional logging (this is just an example, and depends on your actual use case).
Step 6: Push up your changes
Having worked on your code and tested it locally, you can now push up your code to deploy it in Quix Cloud. You can do this with:
This updates your quix.yaml and pushes your modified code to the Gitea repository and syncs with Quix Cloud.
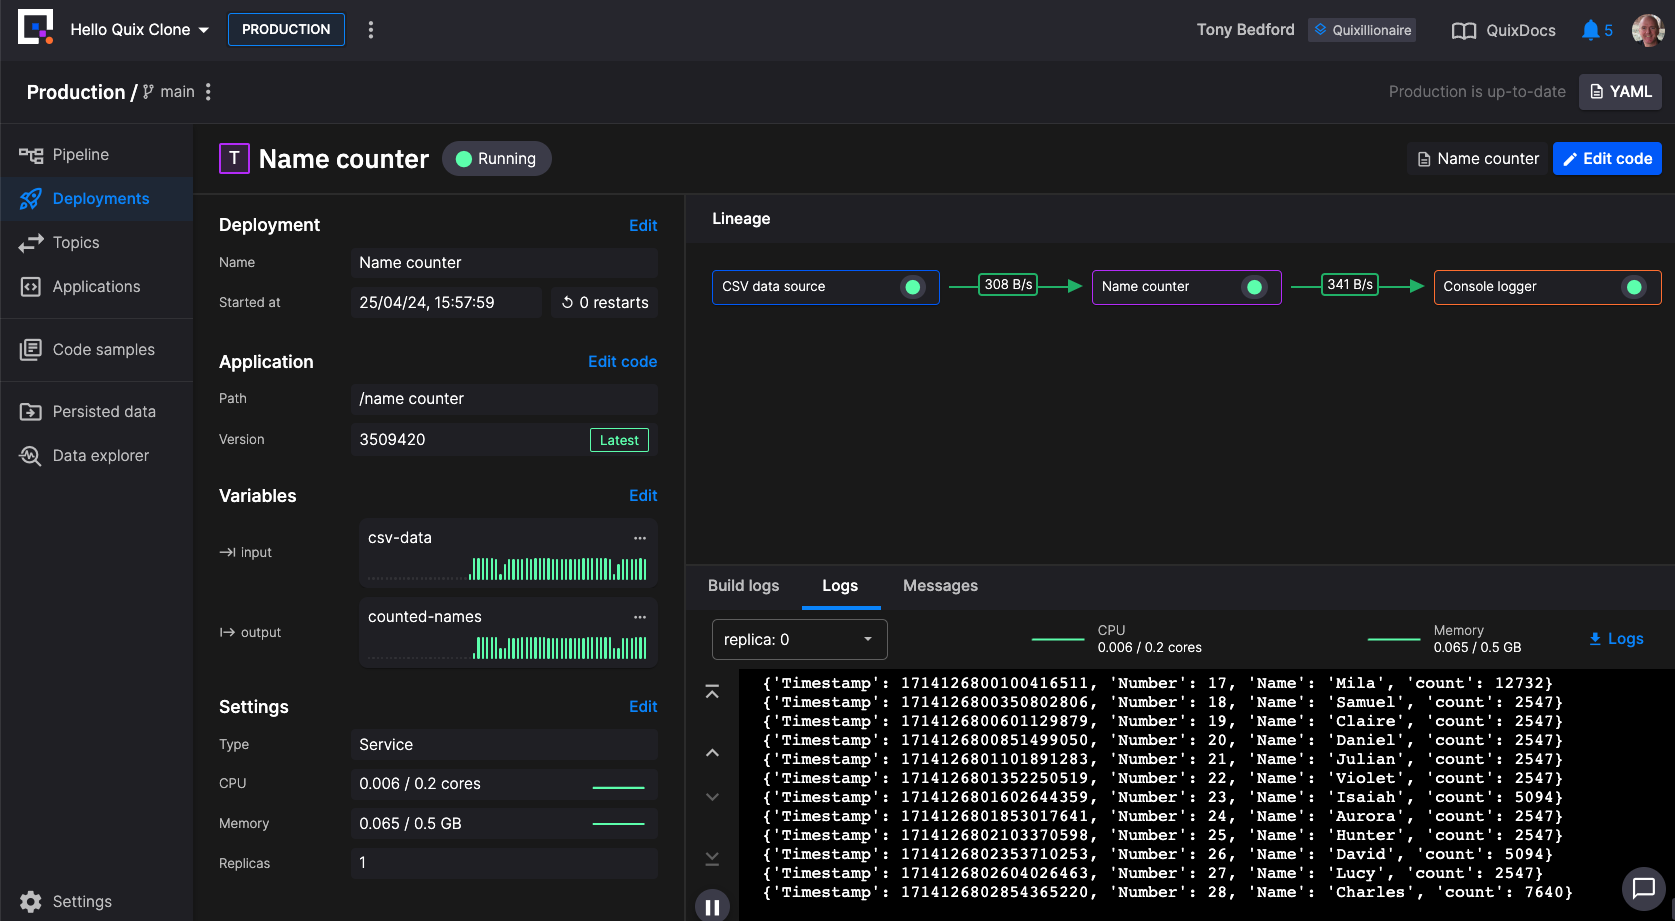
In Quix Cloud you can view the pipeline and examine it in detail.